Setting up an IV infusion pump correctly is essential for delivering precise, consistent, and safe fluid or medication therapy. Whether you’re working in a hospital, clinic, or specialized infusion center, mastering the setup process ensures optimal patient care and efficient workflow. Here’s a clear, engaging guide to help you get it right every time.
Step 1: Prepare Your Equipment
Before starting, gather all necessary supplies:
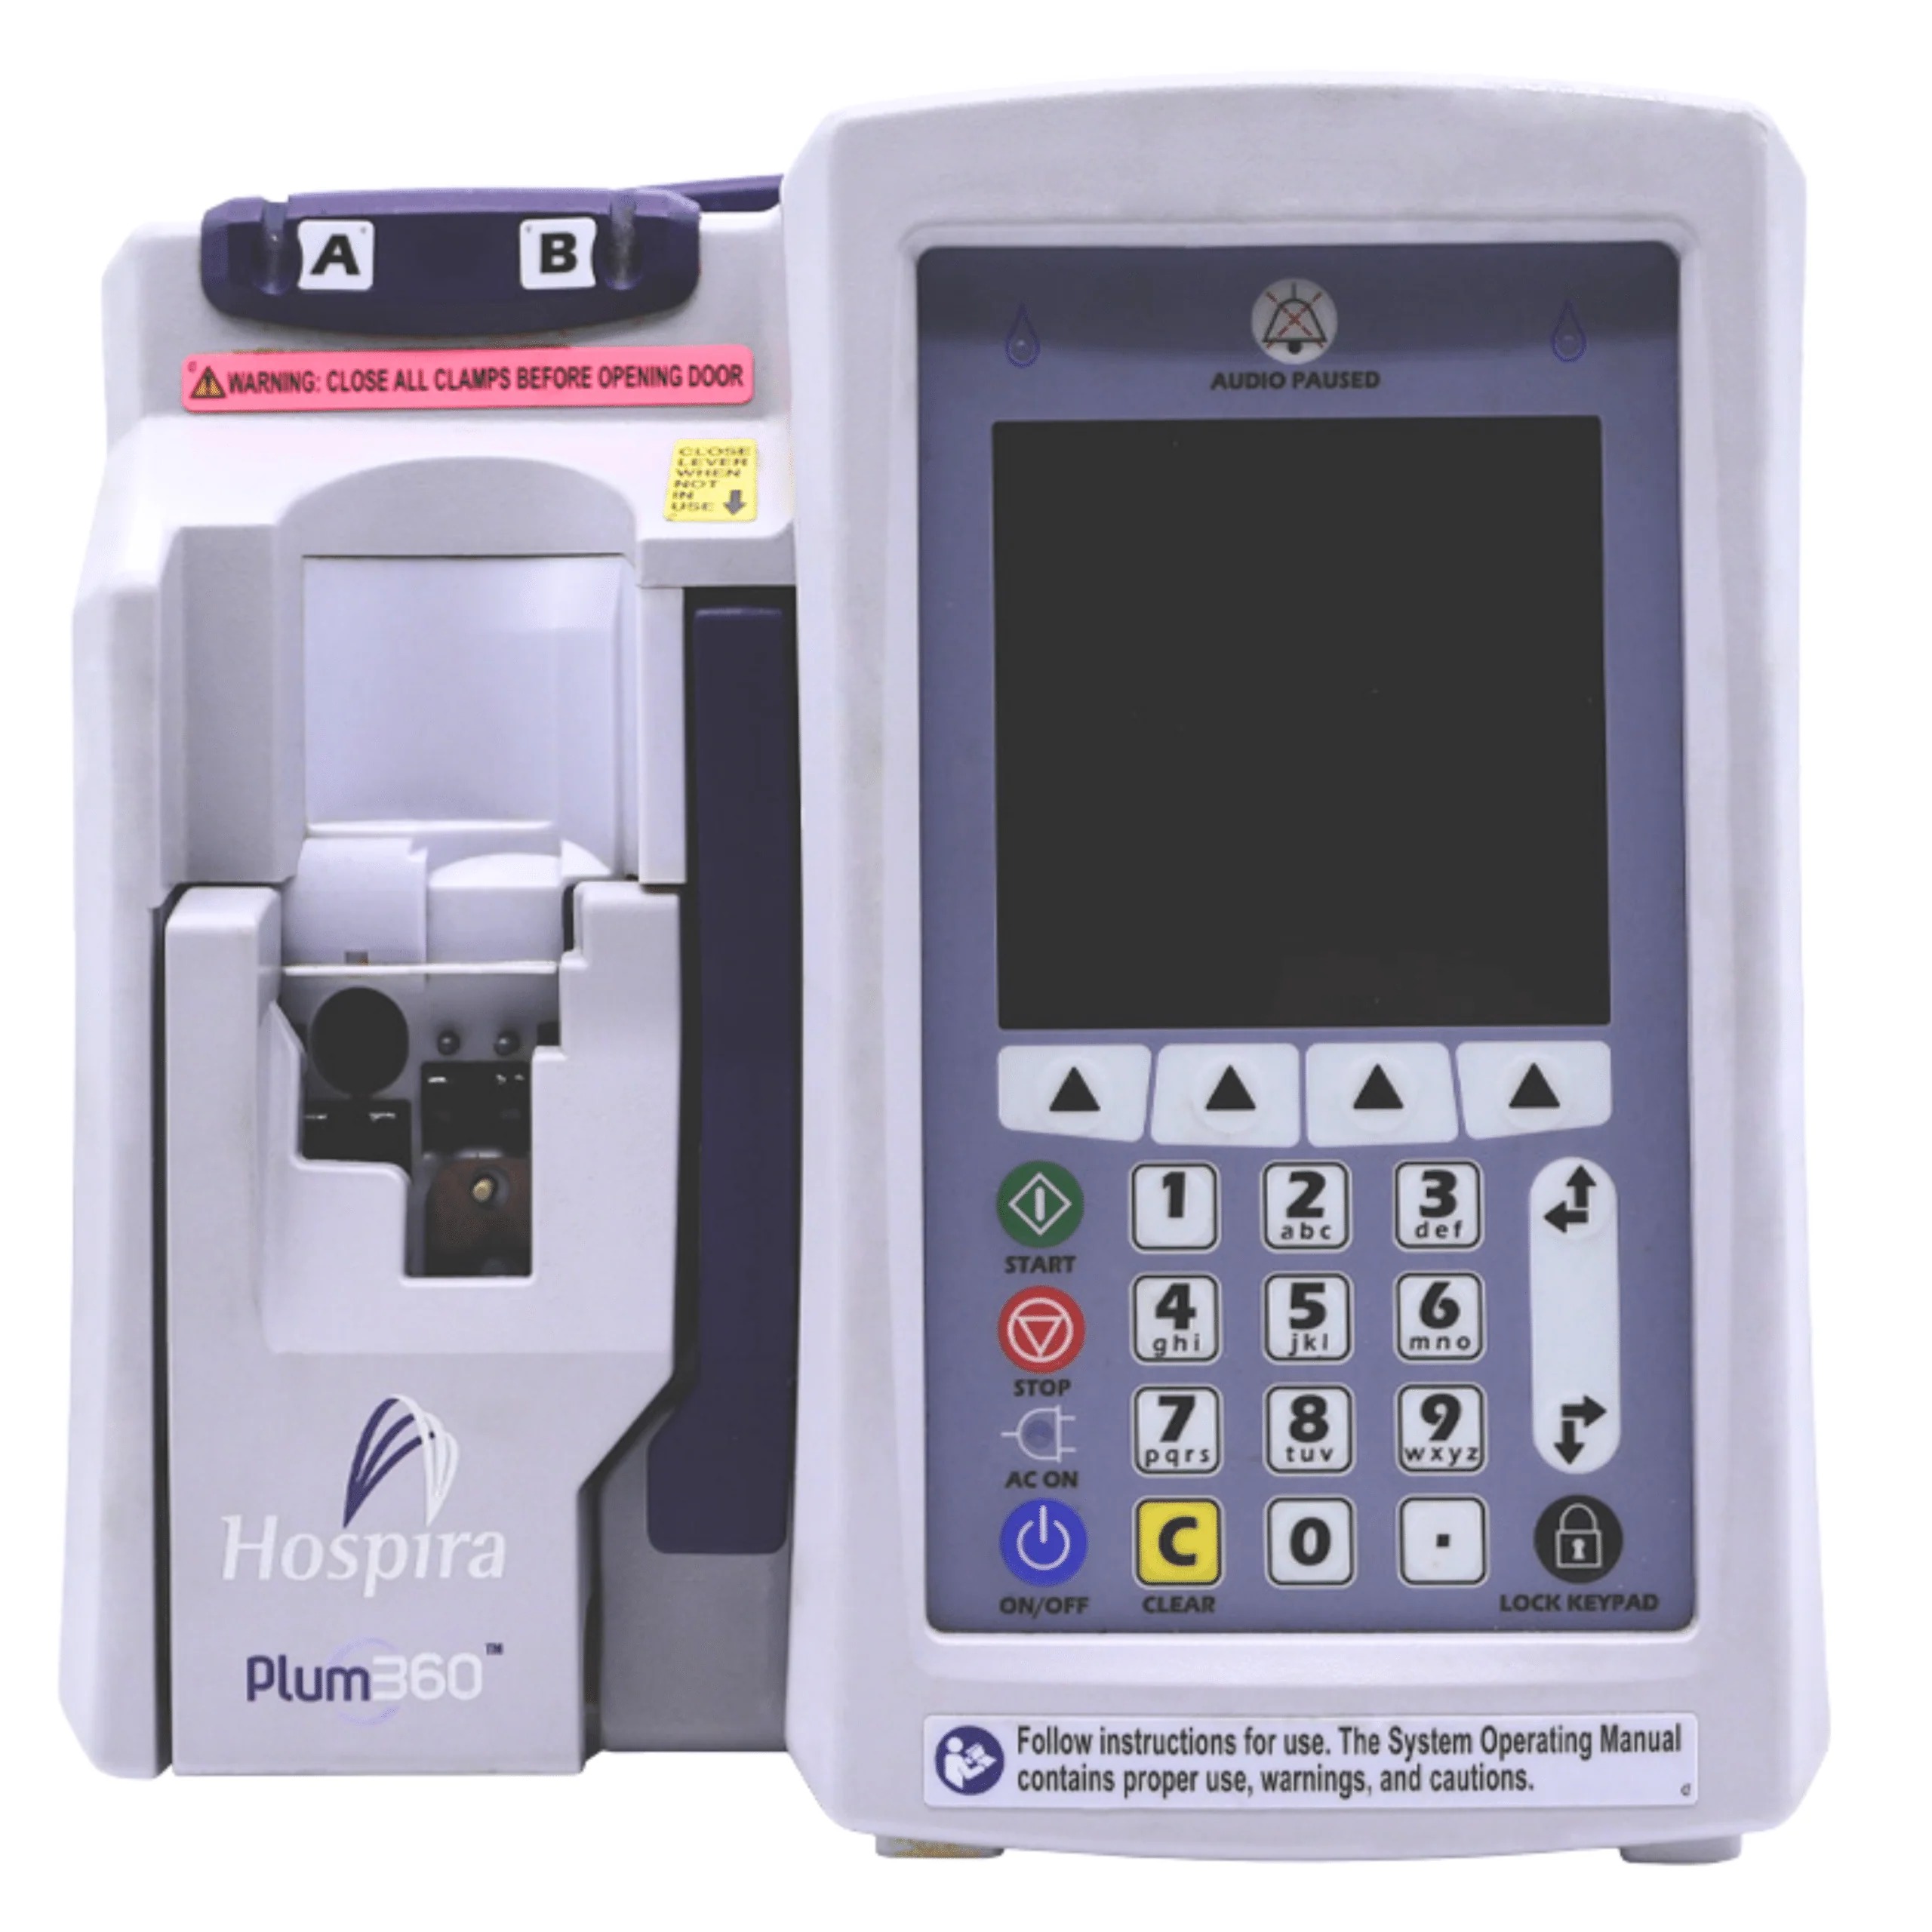
- IV infusion pump (e.g., Plum IV Infusion Pump)
- IV administration set (compatible tubing)
- Prescribed medication or IV fluid
- IV pole and power source
Check that the infusion pump is clean, fully functional, and properly calibrated. Inspect tubing for leaks or defects to maintain a closed, contamination-free system—a key factor in infection control.
Step 2: Load the IV Tubing Correctly
Open the pump’s loading mechanism and carefully insert the IV tubing according to the manufacturer’s guidelines. Many modern pumps feature guided loading systems that reduce setup errors.
Ensure the tubing is:
- Properly aligned in the channel
- Free from kinks or twists
- Securely locked in place
Correct loading is critical for accurate flow rate delivery and preventing occlusion alarms.
Step 3: Prime the Line for Air-Free Infusion
Priming removes air from the tubing, which is vital for patient safety. Connect the IV bag and allow fluid to flow through the line until all air bubbles are eliminated.
This step ensures:
- Smooth, uninterrupted infusion
- Reduced risk of air embolism
- Reliable medication delivery
Look for a steady, bubble-free flow before proceeding.
Step 4: Program the Infusion Pump Settings
Using the pump’s digital interface, input the prescribed parameters:
- Infusion rate (mL/hr)
- Total volume to be infused (VTBI)
- Medication limits (if using drug libraries)
Advanced pumps include dose error reduction systems (DERS) and customizable settings to enhance safety. Double-check all entries to ensure precision dosing and compliance with clinical protocols.
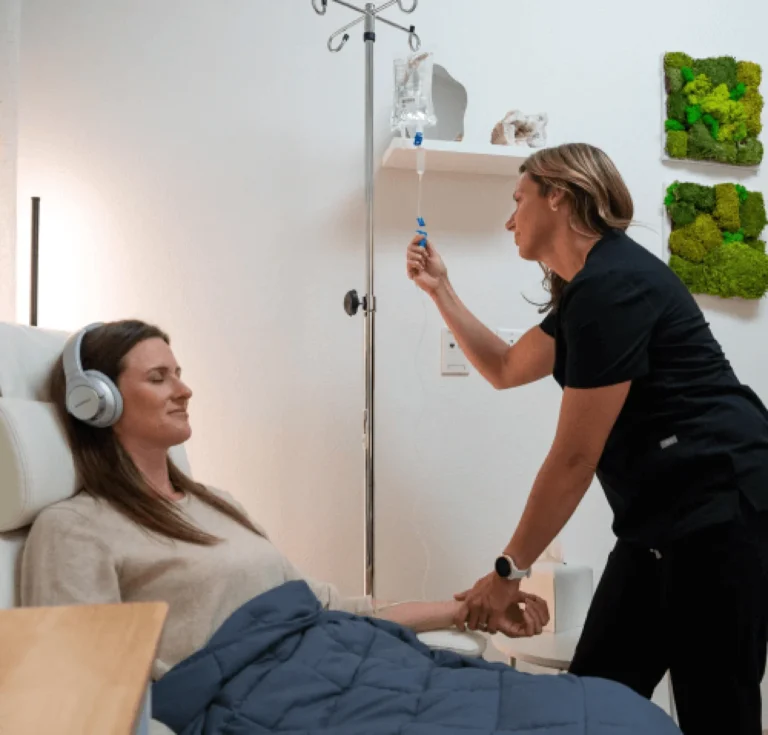
Step 5: Connect to the Patient
Attach the primed IV line to the patient’s IV access site (cannula or catheter). Secure all connections tightly to prevent leaks or dislodgement.
Position the pump on an IV pole at an appropriate height for:
- Optimal fluid flow
- Easy monitoring and access
Step 6: Start the Infusion & Monitor الأداء
Begin the infusion and observe the pump’s display. Modern IV infusion pumps provide:
- Real-time flow monitoring
- Audible and visual alarms
- Alerts for occlusions, air-in-line, or low battery
Regular monitoring ensures continuous, accurate infusion therapy and allows for immediate response to any issues.
Safety Tips for Optimal Performance
- Always verify patient and medication details before starting
- Use compatible IV sets recommended by the manufacturer
- Keep the pump charged or connected to a power source
- Respond promptly to alarms to avoid therapy interruptions
Why Proper Setup Matters
A correctly set up IV infusion pump system enhances:
- Patient safety and comfort
- Medication accuracy
- Clinical efficiency
By following these steps, healthcare professionals can deliver high-precision infusion therapy with confidence.
Mastering IV infusion pump setup isn’t just a skill—it’s a commitment to safer, smarter, and more effective patient care.